


We’ve shown you what’s inside a wedding invite and we’ve given you ideas for designing them too, but there might still be a few questions left unanswered on your end. “When should I sent out my invites?” “How many should I have printed?” Don’t worry, loves! Allow us to tie the loose ends as we give you tips and reminders about your pretty wedding stationery, thanks to Ink Scribbler. From sizes to printing techniques, we’ve got you covered!
The Basics
1. Order invitations six to eight months before the wedding if ordering a custom suite, or three to four months if ordering a standard or templated design.
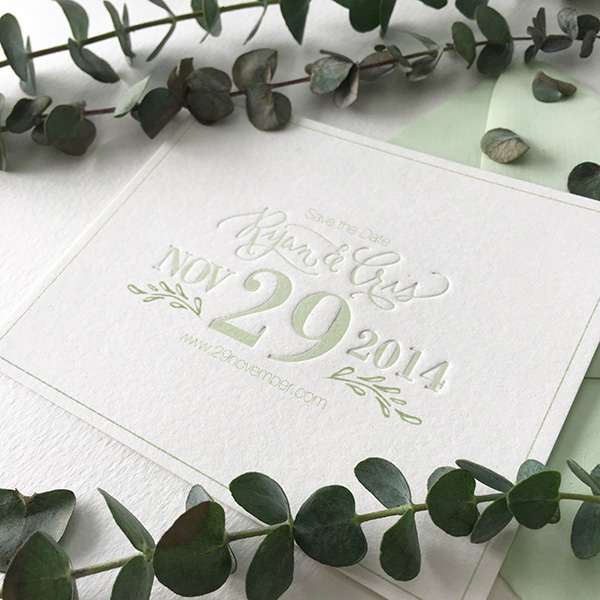
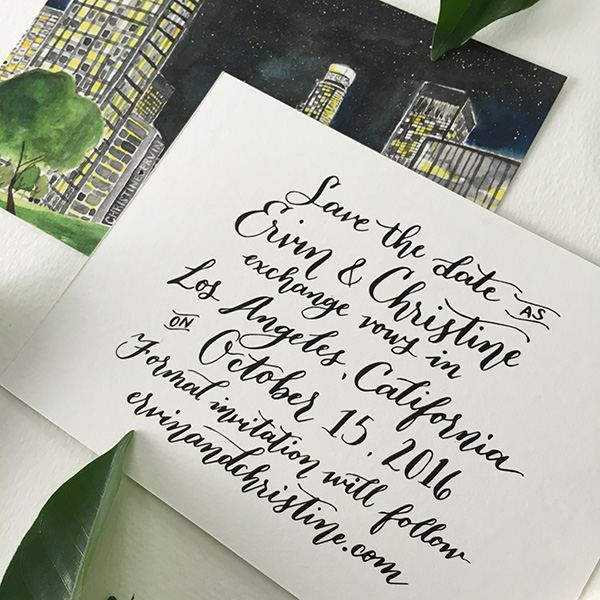
2. Should you decide to prepare the Save the Date cards, send them six to eight months before the wedding.
3. Send out invitations eight weeks before the wedding or four to six weeks before the wedding if a Save the Date has been given out. If your guests are abroad, add two to three weeks to the standard time.
4. How many invitations to order? Well, this is the first thing you have to do:

You are to print for one per family or couple, plus 20 extra sets and 20 extra envelopes. Reprints and rush orders are pricey and will cost you time and money, so it’s good to be ready. An alternative computation is around 60% of the total number of guests.
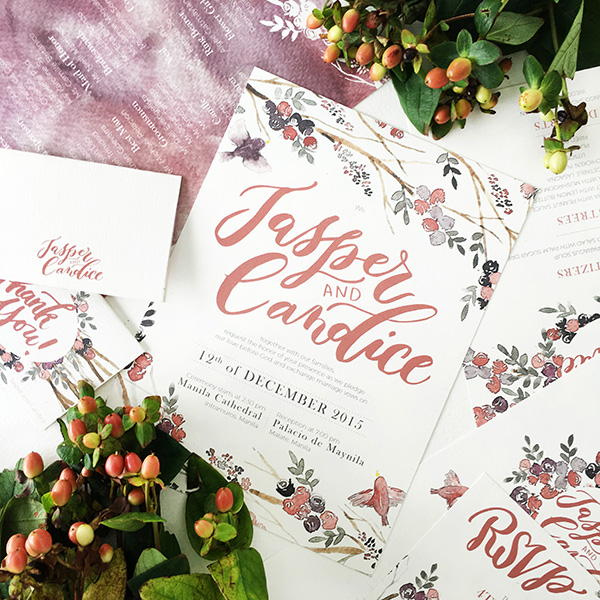
5. Common paper colors are ecru, cream, and white, but couples should not be limited to these. The invitations should reflect the couple’s personality and story.
6. Thinking of having someone do your invitations and wedding stationery?
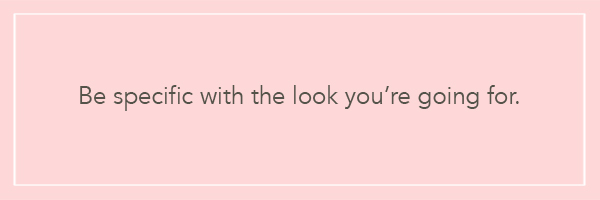
Send pegs and a color palette, and be as specific as possible on what you want so it will be easier for the designers to have a grasp on the design direction that you want.
Size Matters
Invitation sizes vary by supplier, but the most common sizes in inches are 4×9, 6×6, 5.5×8.5, 6×8, and 6.75×6.75. Different kinds of cuts are also available like rounded corners and bracket cuts. Some sizes cost more than others, and some sizes match some designs better than others, so it’s better to consult your invitation designer for this.
Printing Techniques
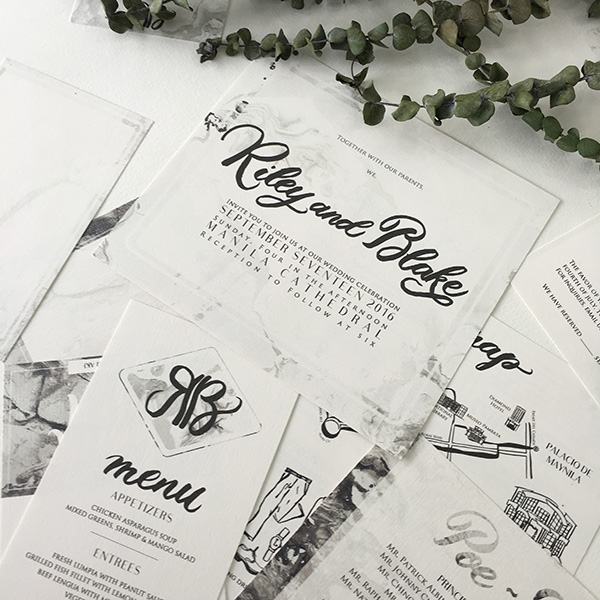
1. Digital flat print. The most basic printing technique, and the one that costs the least, especially for short runs. Digital print is recommended for watercolor and imagery with a variety of colors, but they cannot replicate metallic colors or the shine of foil. This, however, can also be combined with other printing techniques like foil stamping.
2. Offset printing. Another flat printing technique recommended for matching exact Pantone codes. If you’re gearing towards specific colors or shades, this will be a better option than digital.
3. Foil stamping. Foil stamping is pressing a metal plate on top of metallic foil on cardstock, creating a slight indent on the paper with a metallic shine. Foil stamping usually takes longer than digital printing and costs higher.
4. Letterpress. In letterpress, a metal plate with ink is pressed on paper, leaving it with an indent on the paper. Like foil stamping, the cost and time of production is higher than a digital print. There is also a technique similar to letterpress called blind emboss, where no ink is used and the paper is only left with an indent, creating a subtle mark.
5. Thermography. Thermography is a printing technique where the image is coated with resinous powder and heated to create a raised impression. The cost for thermography is usually lower than foil stamping and letterpress.
Feeling beefed up with knowledge and ready to get your invitations made? Yep, we thought so! Go ahead and spruce up your wedding stationery! Have a great day, loves!